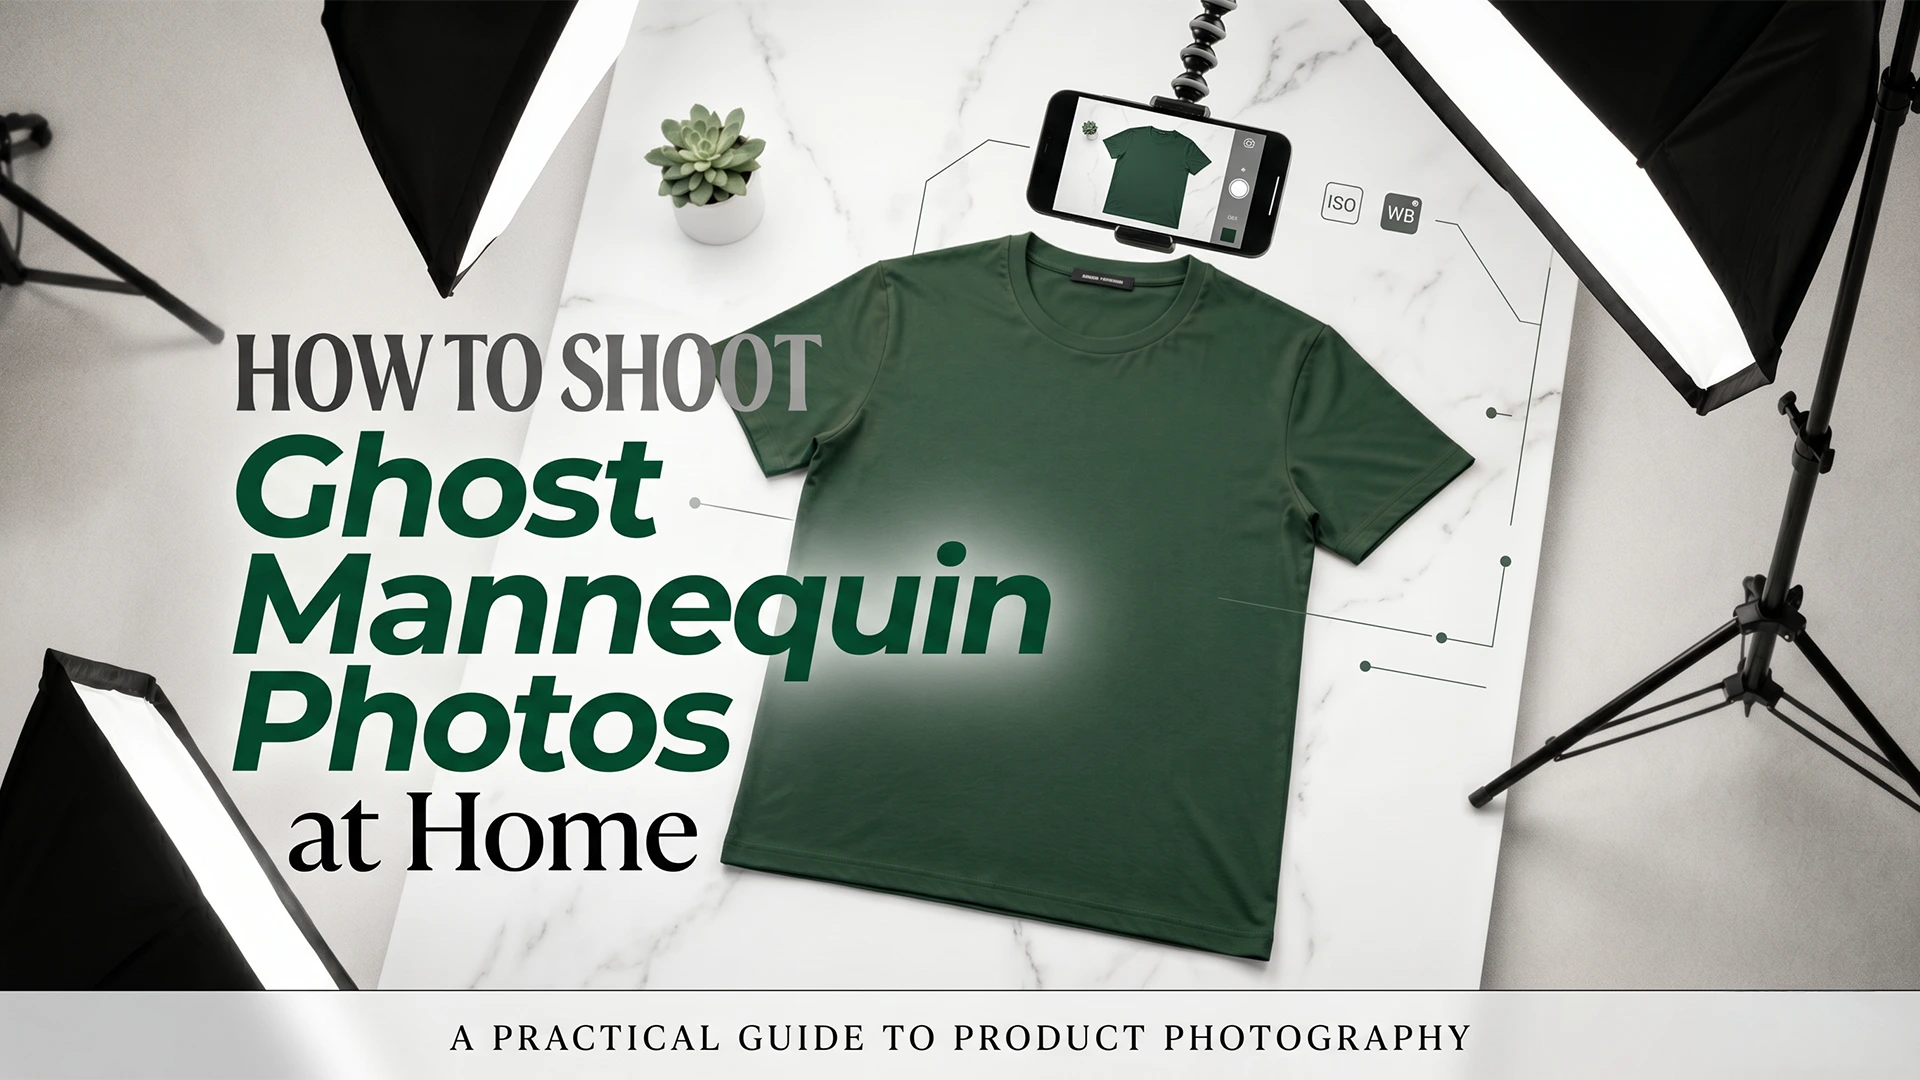
Most sellers assume that getting great invisible ghost mannequin photography requires a professional studio, a DSLR camera, and an experienced photographer. In my experience, that assumption has held back more clothing brands than any other single thing. I have seen sellers with genuinely good products use blurry, flat, lifeless photos — and then wonder why their listings are not converting. The truth is, some of the best ghost mannequin photos I have ever processed through AfterTaken were shot at home, on a smartphone, by someone who had never done a product shoot before.
Here is what I have learned from working on hundreds of invisible mannequin pictures: the camera matters far less than the setup. A modern smartphone — whether it is an iPhone, a Samsung, or a mid-range Android captures more than enough resolution and detail for invisible ghost mannequin images that look fully professional on any marketplace listing. What separates a good ghost mannequin photo from a bad one is almost never the camera. It is the light, the positioning, and the post-processing. And with ghost mannequin AI tools available today, the post-processing part has been reduced to a single upload.
Once you have your photo, AfterTaken does the rest — mannequin removal, collar reconstruction, listing-ready output in seconds. Try free at AfterTaken.com/tools/ghost-mannequin
What You Actually Need to Shoot Ghost Mannequin Photos at Home
Before we get into the step-by-step process, let me be clear about what the setup requires — and what it does not. In my experience, sellers often overbuy equipment they do not need and underprepare in the areas that actually matter.
What You Need
- A smartphone with a decent camera —
- A mannequin (optional) —
- A plain background —
- Natural light or a simple two-light setup —
- AfterTaken —
What You Do NOT Need
- A DSLR or mirrorless camera
- A professional photography studio
- Expensive modular mannequins
- Photoshop or advanced editing skills
- A professional retoucher or Neck Joint Service provider
- A mannequin — if you only have flat-lay photos, AfterTaken AI can still generate the ghost mannequin effect from them
In my experience: The sellers who stress the most about camera equipment are usually the ones spending the least time on lighting and garment positioning — the two things that actually determine image quality. Sort those out first, then worry about anything else.
Step 1 — Setting Up Your Shooting Space
You do not need a dedicated room or a studio setup. A corner of your home with good light and a clean background is all you need. Here is how to make it work:
Background Setup
Tape or clip a plain white or light grey fabric — a bedsheet or craft paper roll works well — against a wall or any flat vertical surface. Make sure there are no visible creases or patterns in the background. The cleaner and flatter the background, the easier the AI ghost mannequin processing will be. If you are shooting flat-lay instead of using a mannequin, the same rule applies — a clean, plain background gives AfterTaken AI the best material to work with.
Mannequin or Flat-Lay — Your Choice
If you are using a mannequin, place it about half a metre away from the background. This gap prevents the mannequin’s shadow from falling on the backdrop, creating cleaner separation that makes AI processing more accurate. If you are shooting flat-lay, lay the garment on a flat surface — a table or the floor — with the same clean background underneath. AfterTaken works with both approaches and applies the invisible mannequin effect either way.
Your Camera Position
If using a mannequin, set your phone at mannequin chest height — not above or below. If shooting flat-lay, position your phone directly overhead, perpendicular to the surface. In my experience, the most common error in flat-lay ghost mannequin setups is shooting at a slight angle rather than perfectly straight down — it distorts the garment shape and makes the AI reconstruction less natural.
Step 2 — Getting the Lighting Right
Lighting is where most home photography setups fail and where the difference between a listing that converts and one that does not is often made. Let me share what has worked consistently in my testing.
Option A — Natural Window Light
If using a mannequin, position it two to three feet from a large window — light from the side creates natural depth. If shooting flat-lay, place your garment near the window but ensure the light falls evenly across the fabric with no harsh shadows on one side. Even, flat light works better for flat-lay than directional light.
If the light coming through the window is harsh and direct, tape a white bedsheet or translucent white curtain across the window to diffuse it. Diffused light is softer, reduces harsh shadows, and shows fabric texture more clearly which is exactly what you want for clean invisible mannequin pictures.
Option B — Two-Light Setup
If natural light is inconsistent in your space, two LED lights with diffusers placed at 45 degrees on either side of the mannequin give you reliable, repeatable results every time. In my experience, this is the most consistent setup for batch shooting an entire collection. The light does not change throughout the day, so all your ghost mannequin photos come out uniform.
Step 3 — Preparing the Garment (Mannequin or Flat-Lay)
Whether you are using a mannequin or shooting flat-lay, how you prepare the garment before shooting has a direct impact on the quality of your ghost mannequin output. This step takes two minutes but is often skipped or rushed and it shows in the final image.
Fit and Symmetry
If on a mannequin, make sure the garment sits evenly — collar centred, shoulders level, fabric smooth. If shooting flat-lay, lay the garment as symmetrically as possible, collar flat and open, sleeves extended at natural angles. In my experience, asymmetry at the preparation stage is the single most common reason a ghost mannequin photo looks unprofessional after AI processing. The AI faithfully reproduces whatever is in the original photo crooked collar and all.
Removing Wrinkles
Light steaming or ironing before the shoot makes a significant difference to the final output. Pay particular attention to the collar, shoulder area, and front panel. These are the most visible parts of an invisible mannequin image. A small travel steamer is a worthwhile investment if you are shooting apparel regularly.
Tucking and Pinning
If using a mannequin and the garment is loose, use garment pins at the back to pull the fabric into the correct silhouette. If shooting flat-lay, gently arrange the fabric from the inside using small props or tissue paper to give shirts, kurtas, and jackets a slightly lifted, structured look. A completely flat garment with no dimension can be harder for the AI to reconstruct into a convincing hollow mannequin shape.
Step 4 — Taking the Shot on Your Smartphone
Setup is done. Garment is prepared — whether on a mannequin or laid flat. Lighting is right. Now here is how to get the actual photograph right:
Smartphone Camera Settings
- Switch to Portrait mode if your phone has it — it sharpens the subject and softens the background slightly
- Lock the exposure and focus by tapping and holding on the garment in your camera app
- Turn off HDR mode — it can over-process the image and create unnatural tones in fabric
- Shoot in the highest resolution your phone supports
- Use a timer or volume button trigger to avoid camera shake when pressing the shutter
Angles to Shoot
For a complete set of invisible mannequin pictures for your listing, shoot these angles:
- Front view — straight on at chest height, garment centred in frame
- Back view — same height, clean shot of the back of the garment
- Collar close-up — zoomed in on the neckline and collar detail
- Detail shots — pockets, buttons, stitching, logo placement — anything that adds value to the listing
IMPORTANT
For the ghost mannequin AI to reconstruct the inner collar naturally, make sure your front shot shows the full collar opening clearly. Do not have the collar tucked in or folded over. The cleaner the collar area in the original photo, the more natural the invisible mannequin effect will look in the final output.
Step 5 — Processing with Ghost Mannequin AI
This is where the transformation happens. Once you have your photos, the ghost mannequin AI does the work that would have taken a professional Photoshop editor 20 to 30 minutes per image.
Using AfterTaken AI Ghost Mannequin Tool
- Upload your photo — go to AI Ghost Mannequin Photography Tool and upload your garment image
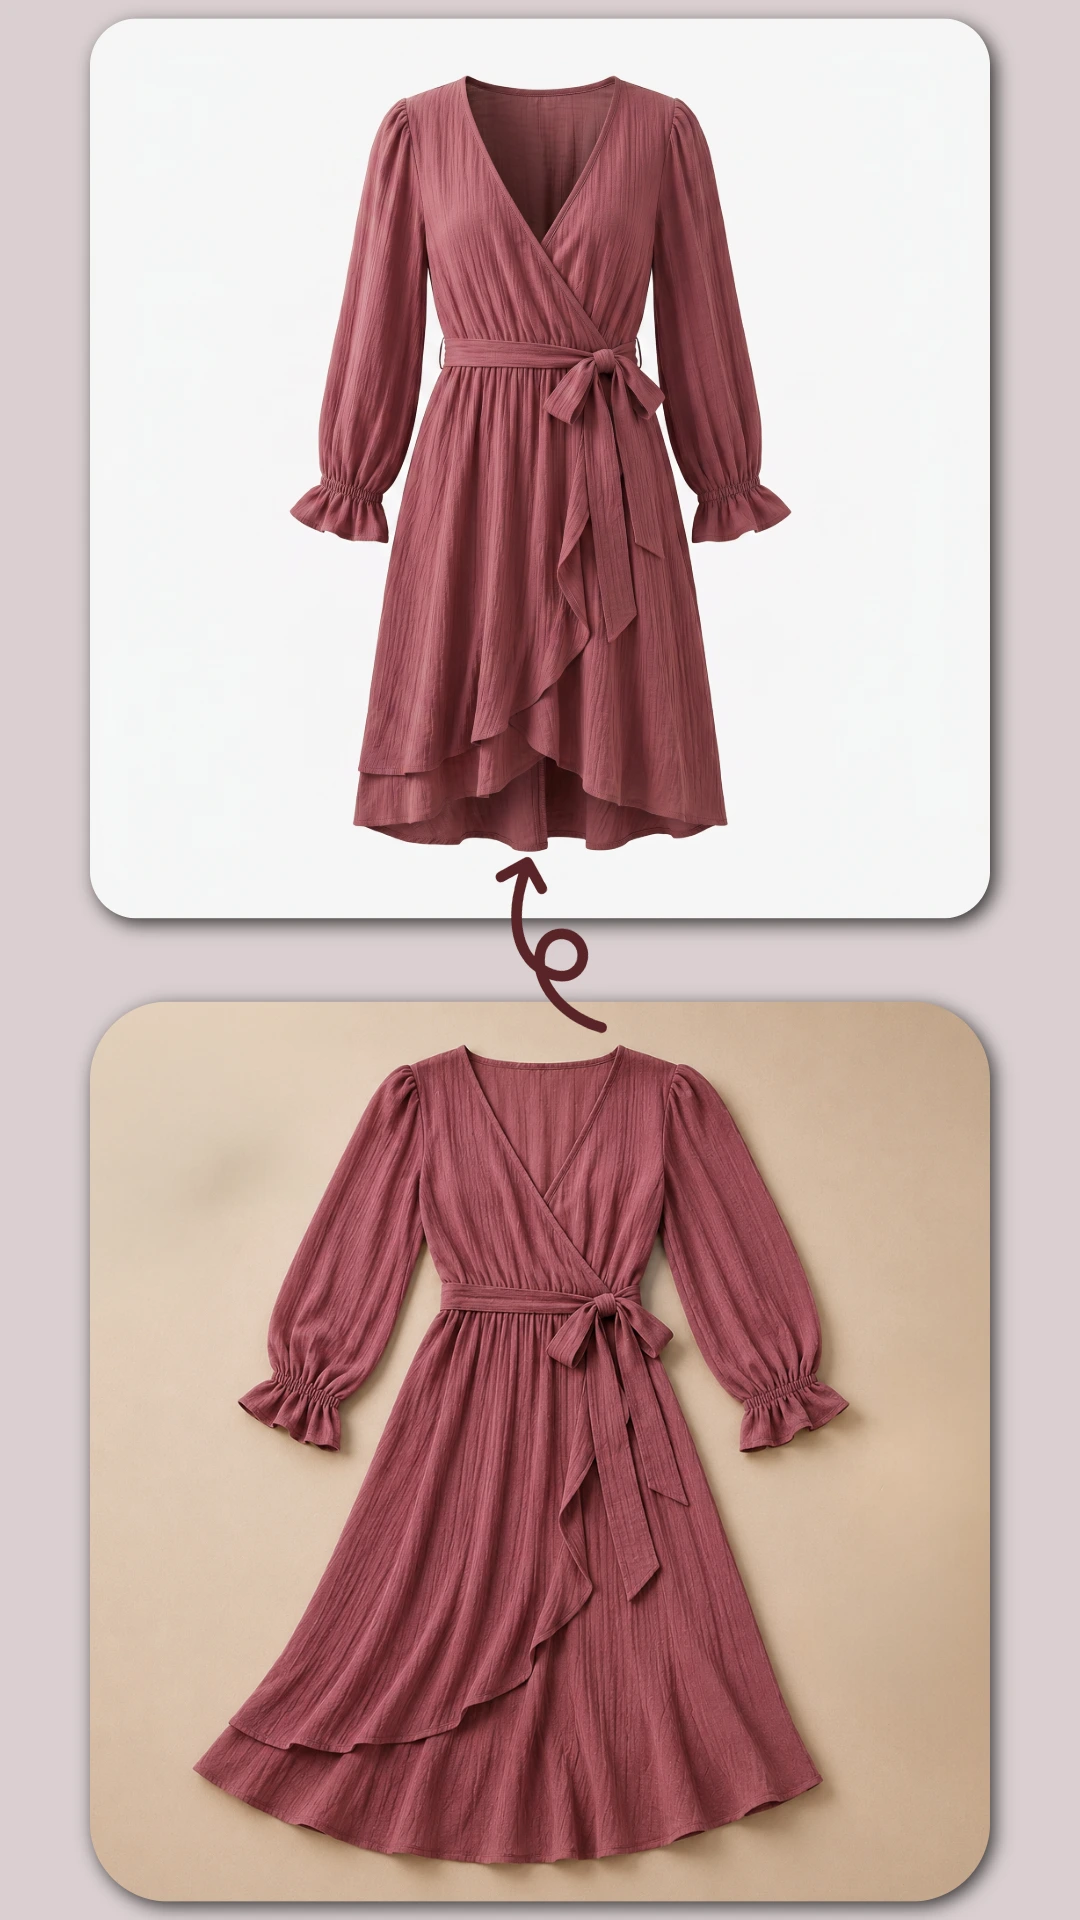
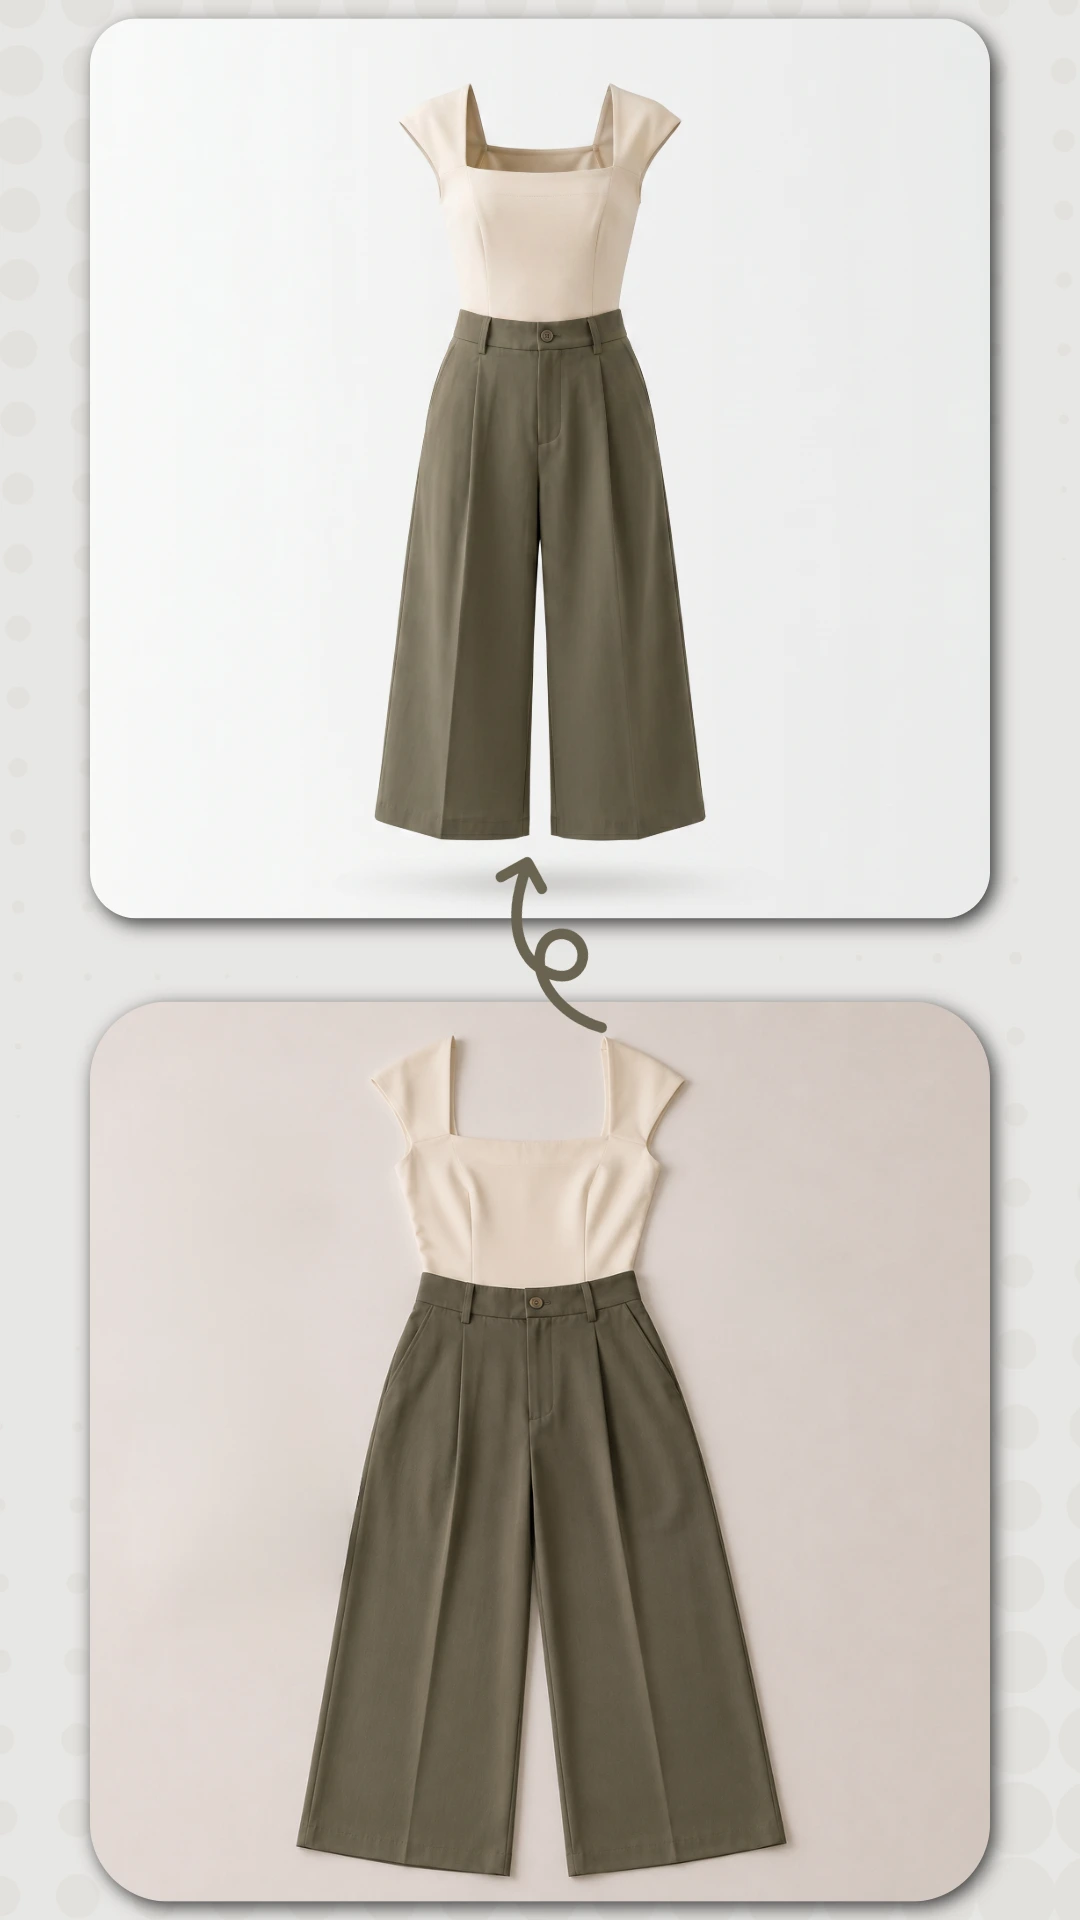
- AI processing — the tool automatically detects the garment, removes the mannequin or background, and reconstructs the hollow neck and interior collar area — whether your original photo had a mannequin or was a flat-lay
- Before/After preview — review the result against your original photo to confirm the output quality
- Download — save your final invisible ghost mannequin image at full resolution, ready to upload directly to your listing
Try it free: New AfterTaken users receive free credits on signup — no credit card required. Process your first 5 ghost mannequin images at zero cost at AfterTaken.com/tools/ghost-mannequin
Common Mistakes That Ruin Ghost Mannequin Photos at Home
After processing a large number of home-shot garment images, I have seen the same mistakes come up repeatedly. Here is what to watch out for:
- Shooting too close to the background —
- Ignoring collar symmetry —
- Mixed lighting sources —
- Low resolution shots —
- Shooting in portrait orientation —
- Skipping the steaming step —
What Good Home-Shot Ghost Mannequin Photos Actually Look Like
The bar for invisible ghost mannequin photography in 2026 is high — but achievable at home. Here is what a well-executed set of ghost mannequin photos looks like when done correctly:
- Clean, sharp garment edges against the background — no blurring or halo effect around the fabric
- Natural collar reconstruction — the hollow neck opening looks genuine, not digitally patched
- Visible fabric texture — you can see the weave, the stitching, the material quality
- Consistent lighting across all angles — no shadows that appear on one shot but not another
- Colour accuracy — the garment on screen matches the garment in hand
Final Thoughts
Ghost mannequin photography at home is not a compromise — and it does not even require a mannequin. Done correctly — with good light, a well-prepared garment (whether on a mannequin or laid flat), and a steady smartphone. It is a legitimate production workflow that produces listing-ready images at a fraction of the time and cost of traditional studio shoots.
The invisible ghost mannequin effect that once required a professional photographer, a Photoshop retoucher, and several days of turnaround is now achievable in an afternoon, with a phone you already own, a garment laid flat or draped on a mannequin, and an AI tool that handles the editing automatically.
Set up your space once, learn the lighting, and you will have a repeatable workflow that scales with your catalogue.
Frequently Asked Questions (FAQs)
No — a mannequin is completely optional. AfterTaken can create professional invisible mannequin pictures from both mannequin photos and flat-lay clothing images. If you only have a flat-lay photo of your garment, simply upload it to AfterTaken’s Ghost Mannequin tool and the AI will reconstruct the three-dimensional hollow form automatically. In my experience, flat-lay inputs work particularly well for tops, kurtas, shirts, and dresses.
Yes — absolutely. Some of the best ghost mannequin photos, I have processed through AfterTaken were shot on smartphones, not DSLRs. What determines the quality of your output is not the camera — it is the lighting, garment preparation, and background. A modern smartphone with good light and a clean plain background produces more than enough detail for listing-ready.
Traditional Photoshop editing for the ghost mannequin effect — called a Neck Joint Service — requires a skilled retoucher to manually mask the garment, remove the mannequin, and reconstruct the inner collar area from a second photograph. This takes 20 to 60 minutes per image. Ghost mannequin AI like AfterTaken does all of this automatically in seconds. The AI identifies the garment structure, infers the natural shape of the inner collar, and reconstructs the hollow form without needing a second photograph.
The invisible ghost mannequin effect works best with structured garments that hold their shape — shirts, kurtas, jackets, dresses, tops, and outerwear. Garments without text labels or heavy branding on the body produce the cleanest results. In my testing, very thin or sheer fabrics require a bit more attention to lighting because the AI needs clear edge definition to produce accurate result.
Yes — new AfterTaken users receive free credits on signup with no credit card required. These free credits let you process your first ghost mannequin images at zero cost before deciding whether to top up. It operates on a flexible pay-as-you-go credit model with no monthly subscription commitment — you only pay for what you use. Plans are available in both INR and USD to suit sellers across markets.
Pingback: How AI Virtual Try-On Can Skyrocket Your Clothing Brand's Sales
Pingback: AI Virtual Try-On for Clothing: Professional Model Guide