
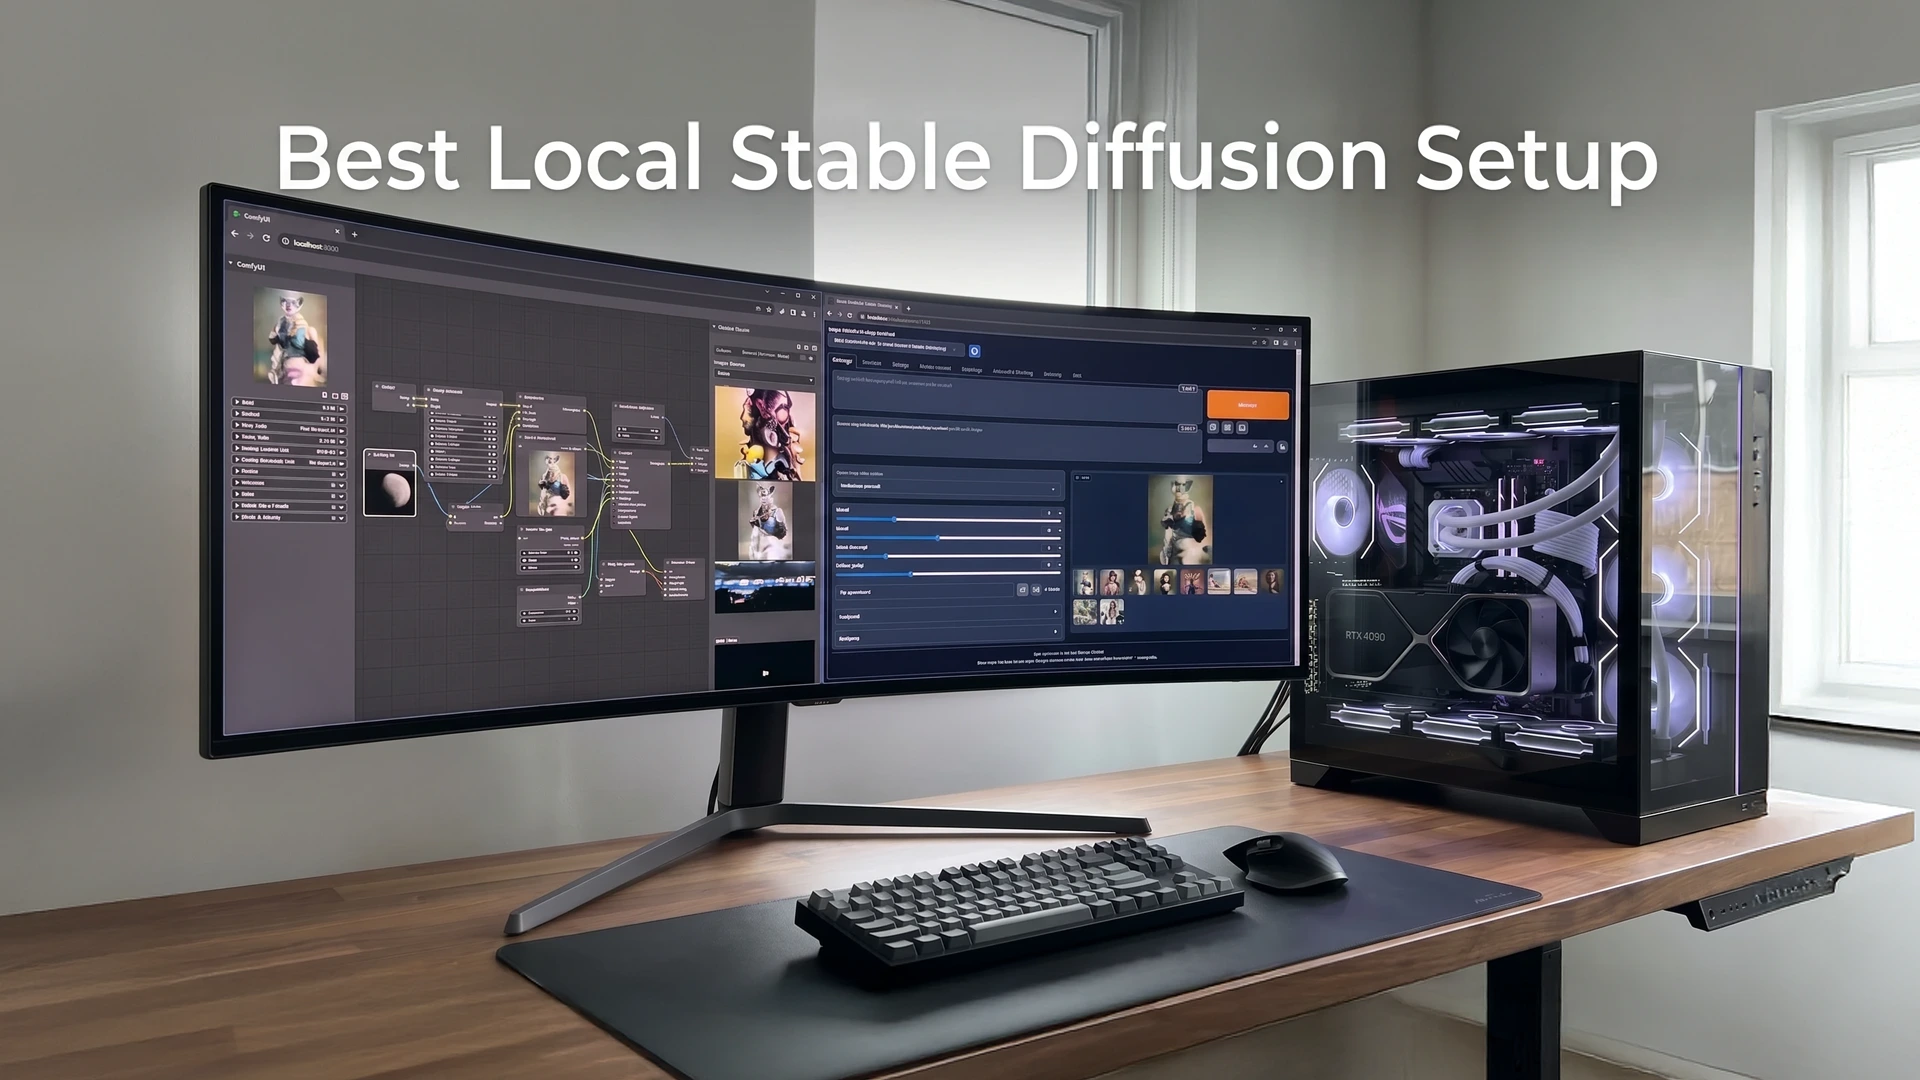

How to build the perfect hardware rig, choose between ComfyUI vs Automatic1111, and run next-gen open-source image pipelines with maximum efficiency.
If you are still relying entirely on cloud-based AI generation services like Midjourney or paid API credits to handle your generation pipelines, you are leaving an immense amount of control—and capital—on the table. In 2026, local AI image generation has shifted from a hobbyist technical flex to an absolute mechanical necessity for developers, creators, and e-commerce platforms alike.
With the release of ultra-dense open-weights architectures like Flux.1 and next-generation iterations of Stable Diffusion, the gap between commercial APIs and open-source models has completely vanished. Running these models locally gives you total data privacy, zero censorship, zero subscription fees, and unparalleled granular modification through custom nodes and local image editing setups. Building and scaling generative AI applications has taught me that cloud APIs can quickly become a major bottleneck during rapid testing cycles. In my experience, configuring a rock-solid local environment is the highest-ROI technical foundation you can establish. Whether you want to spin up custom product photography nodes or build high-throughput media pipelines, this comprehensive guide will take you step-by-step through setting up the best local Stable Diffusion workspace in 2026.
1. The Hardware Imperative: Best PC Build for ComfyUI & Stable Diffusion 2026
Before downloading a single script, you must address your local computing architecture. Unlike traditional video rendering or 3D modeling where CPU threads and system RAM can compensate for weaker components, local generative AI demands highly specific silicon workflows. VRAM (Video RAM) remains the supreme ruler of local AI production.
In 2026, modern open-weights models process billions of parameters across high-precision formats (like FP8 or full BF16). If your GPU doesn’t have the capacity to fit both the model weights and the text encoders entirely into its physical memory pool, your system will drop back to system RAM fallback, tanking your generation speeds by up to 95%.
Recommended 2026 Production Specs:
• GPU: NVIDIA RTX 4060 Ti (16GB) Minimum | RTX 4080 Super / RTX 5070 (16GB+) Recommended | RTX 4090 / RTX 5090 for baseline Enterprise work.
• System RAM: 32GB DDR5 minimum (64GB preferred if running dense LLMs or text-encoders concurrently).
• Storage: Minimum 2TB NVMe PCIe Gen4 SSD. Models consume anywhere from 5GB to 35GB apiece; mechanical hard drives will introduce massive bottlenecking delays during model loading loops.
In my experience, Why focus so heavily on NVIDIA? While AMD’s ROCm and Apple’s Unified Memory architecture (found in M2/M3/M4 Max chips) have made enormous leaps, CUDA remains the industry-standard runtime framework for open-source AI. Most custom nodes, high-speed optimizations (like TensorRT), and community-driven scripts are built CUDA-first. If your workflow requires seamless, error-free node deployment, sticking with NVIDIA is the safest path.
2. Choosing Your Interface: ComfyUI vs Automatic1111 for Local Image Editing 2026
Once your hardware is locked in, you need an interface to orchestrate your generations. The community has consolidated into two primary standard interfaces, each serving completely distinct workflow paradigms.
Automatic1111 (and its high-efficiency forks like SD-WebUI-Forge) remains the definitive king of accessibility. It features a linear, slider-based web interface that exposes parameters like sampling steps, CFG scale, and denoising strength in an intuitive top-to-bottom layout. If your primary goal is to run basic txt2img generations, apply standard ControlNets, and use a straightforward inpainting brush, Automatic1111 is excellent for fast deployment.
However, if you are looking to build complex, industrial-grade production loops, the balance completely shifts toward ComfyUI. ComfyUI is a node-based graphical interface that exposes the underlying mathematical mechanics of Stable Diffusion. You explicitly direct the flow of latent noises, conditioning models, VAE decoders, and custom processing scripts by physically connecting nodes with visual wires.In my experience, When evaluating ComfyUI vs Automatic1111 for local image editing 2026, the node-based paradigm completely changes the game. In a standard WebUI, performing complex multi-pass upscaling, running face restoration stacks, and applying layered control masks requires clicking through multiple tabs, manually transferring seeds, and losing valuable precision along the pipeline. ComfyUI allows you to map out this entire process into a single, cohesive canvas.
You can configure a network that ingests a raw garment photo, extracts its mask via LayerDiffusion, processes the structural background, matches the typography context, and upscales the canvas to a crisp 4K layout—all executed in a single click. Furthermore, ComfyUI handles memory allocation vastly better than Automatic1111, making it highly optimized for the 16GB–24GB VRAM limits standard in 2026 builds.
3. Step-by-Step Installation & Core Configuration
To avoid dependency corruption and environment conflicts, follow this clean, standardized setup sequence. We will focus on establishing a node-based workspace optimized for modern models.
Step 1: Environment Prerequisites
Before installing any AI tool, ensure your system has Git and Python correctly configured. Download and install Python 3.10.x or 3.11.x (check current ComfyUI core requirements, as newer Python versions can occasionally cause torch library mismatching). Ensure you check the critical ‘Add Python to PATH’ box during the installation wizard. Next, install Git for your respective OS to handle seamless community repo synchronization.
Step 2: Deploying the Core Repository
While standalone portable zip packages exist for Windows users, cloning the core repository manually via command-line ensures your directory remains perfectly customizable and easier to debug. Open your terminal, navigate to your fastest NVMe directory, and execute:
git clone https://github.com/comfyanonymous/ComfyUI.git
Step 3: Virtual Environment & Dependency Installation
Navigate into the cloned directory and spin up an isolated virtual python environment (venv) to prevent system-wide package pollution. Run the following commands sequentially:
python -m venv venv
venv\Scripts\activate
pip install torch torchvision torchaudio –index-url https://download.pytorch.org/whl/cu121
pip install -r requirements.txt
This ensures your PyTorch installation explicitly binds to the correct version of CUDA matching your graphics driver.
Step 4: Installing the Manager (Crucial Step)
You should never run a node-based local workspace without the ComfyUI-Manager. It serves as your internal app store, allowing you to search for missing custom nodes, update repositories, and install models directly from the UI. Navigate into your ‘custom_nodes’ folder via command line and clone it:git clone https://github.com/ltdrdata/ComfyUI-Manager.git
4. Maximizing Efficiency: Model Strategies for 2026
With the workspace correctly compiled, your next step is populating your directory with structural assets. In 2026, running massive base checkpoints alongside intricate text encoders requires a streamlined model loading strategy.
1. Adopt FP8 and Quantized Variants Safely
If you are running consumer-tier GPUs with 12GB to 16GB of VRAM, loading a raw 30GB Flux model in full 16-bit precision will completely choke your pipeline. Switch to high-quality FP8 or GGUF quantized models. Through extensive validation, the community has verified that the visual divergence between a full-precision checkpoint and a well-optimized FP8 variant is practically unnoticeable for production use cases, yet it cuts your VRAM foot-print in half.
2. Smart Command-Line Launch Optimization Flags
Modify your local launch script (your .bat or .sh files) to include critical runtime execution parameters. If your VRAM is limited to 12GB–16GB, adding the ‘–medvram’ or ‘–highvram’ flags instructs the engine to proactively unload text encoders from your GPU cache the moment the system switches to processing the latent noise calculations. Combine this with xformers or sdp attention mechanisms to maximize iteration speed per second.
5. Alternative Pipelines: The Rise of Best Local Stable Diffusion iOS Apps
While heavy workstation towers form the backbone of commercial asset production, 2026 has introduced incredibly robust options for local processing on mobile hardware. Thanks to optimized CoreML frameworks and massive leaps in Apple Silicon neural engines, exploring the best local stable diffusion ios apps has become a valid secondary objective for mobile workflows.
Applications like Draw Things leverage local device hardware to run fully offline inference right on your iPad or iPhone. While you won’t be running 30-billion parameter complex compositions on a mobile device, these apps allow you to run optimized SDXL Turbo or highly-distilled next-gen models perfectly in the palm of your hand. It serves as a fantastic tool for sketching raw compositions, testing baseline concepts, or running fast image-to-image variations while away from your primary production rig.
6. Seamless Scaling and Production Considerations
Setting up your local environment is an invaluable way to understand the baseline physics of generative AI—how noise schedules operate, how ControlNet guidance alters spatial dynamics, and how text guidance shapes prompt adherence. Managing this infrastructure manually teaches you precisely how to optimize production pipelines.
However, when scaling an outward-facing commercial application or handling massive high-throughput automation loops (like managing hundreds of client assets concurrently), running individual local UI sessions can quickly run into hardware scaling boundaries. That is where professional ecosystem tools step in. Building custom pipelines locally helps you master the parameters required to build automated commercial tools, like the typography-integrated image processing we manage on platforms like AfterTaken.
Take the time this week to get your local environment properly configured. Choose Automatic1111 if you want a frictionless workspace to quickly test simple prompts, or invest the weekend into mastering ComfyUI if you want to build robust, automated pipelines that will redefine your operational creative limits in 2026. Keep your drivers updated, manage your VRAM pools wisely, and start creating.
Frequently Asked Questions (FAQs)
The best pc build for comfyui stable diffusion 2026 must prioritize Video RAM (VRAM) over everything else. At a minimum, you should target an NVIDIA RTX 4060 Ti (16GB) or the newer RTX 5070 series to comfortably run heavy models like Flux.1 and SDXL. Pair this with at least 32GB of DDR5 system RAM and a fast 2TB NVMe PCIe Gen4 SSD to handle massive model file sizes without bottlenecking your system load times.
When comparing comfyui vs automatic1111 for local image editing 2026, the choice depends entirely on your production workflow:
Choose Automatic1111 (or Forge) if you want a traditional, slider-based web interface for quick, straightforward generations, standard inpainting, and rapid testing.
Choose ComfyUI if you want to build complex, automated, and highly customizable node-based pipelines. In my experience, ComfyUI is much more memory-efficient and gives you granular control over layers, masks, and multi-pass upscaling, making it the superior interface for professional e-commerce work.
While you can technically run older models on 8GB VRAM, the best local stable diffusion setup guide 2026 recommends a baseline of 12GB to 16GB of VRAM. Next-generation open-weights architectures require significant memory to process text encoders. If you have lower VRAM, you should use FP8 or GGUF quantized models and add the --medvram flag to your launch script to avoid system RAM fallback.
The top open-source ecosystem tools right now are ComfyUI (for advanced node setups), SD-WebUI-Forge (an optimized version of Automatic1111), and Fooocus (for midjourney-like simplicity). For local image editing setups, combining ComfyUI with custom nodes like LayerDiffusion provides the most robust toolset available on the market today.
Yes! If you want to create assets on the go, the best local stable diffusion ios app 2026 remains Draw Things. It uses Apple Silicon’s Neural Engine and optimized CoreML frameworks to execute fully offline, local image generations directly on your iPhone or iPad, making it perfect for rapid concept sketching away from your main PC desktop rig.



Great, thorough walkthrough — the model-selection and VRAM-budgeting sections are exactly the practical detail people miss when they first try to self-host Stable Diffusion. One thing worth weighing for teams: a local setup gives you full control over weights, privacy, and per-image cost once the GPU is paid for, but it also means you own the ops burden (driver updates, CUDA mismatches, scaling when you need hundreds of variants). For production workflows where you’d rather not babysit a GPU box, a managed image-generation API can take that off your plate while still letting you drive the same models programmatically. I work on Pixapi, which aggregates several image models behind one endpoint, and it’s been a useful complement to a local rig rather than a replacement. Either way, this is a solid foundation — thanks for publishing it.
Thank you for the detailed feedback! You’re absolutely right—managing a local GPU setup comes with a significant ops overhead (CUDA versions, drivers, scalability, etc.) that many teams underestimate. Managed APIs like Pixapi are indeed a great alternative for teams that want to focus on their product rather than babysitting hardware. It’s a very useful complement to have. Appreciate you sharing this perspective!